这一页只做一件事:跑起第一个界面。如果你还没有把依赖放进自己的 Cargo.toml,先看 安装与功能门控。如果你正在本仓库里学习,可以直接运行 example。
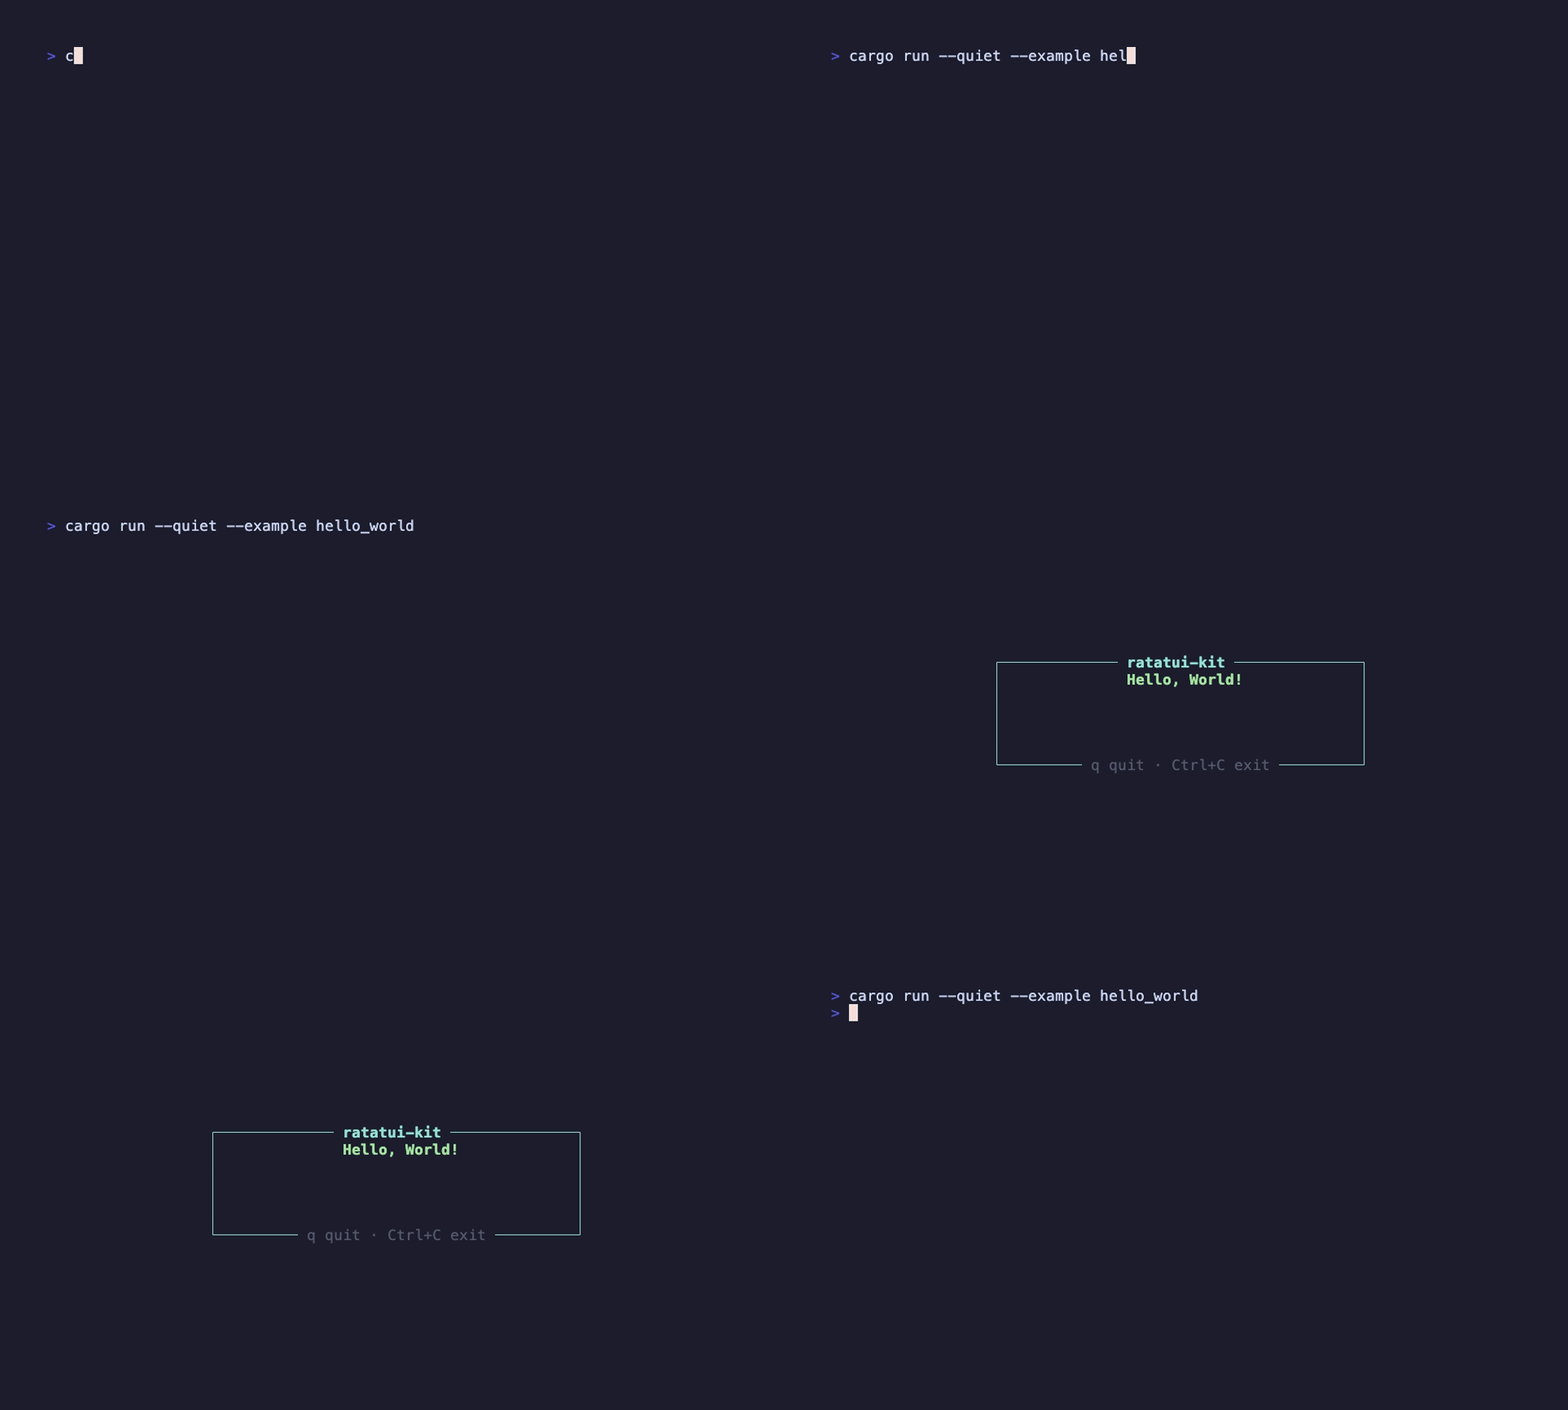
这个录屏由 docs/tapes/hello-world.tape 生成,运行的是仓库里的 examples/start/hello_world.rs。
examples/start/hello_world.rs
use ratatui_kit::{
    crossterm::event::{Event, KeyCode, KeyEventKind},
    prelude::*,
    ratatui::{
        layout::{Constraint, Direction, Flex},
        style::{Style, Stylize},
        text::Line,
    },
};

#[tokio::main]
async fn main() {
    element!(HelloWorld)
        .fullscreen()
        .await
        .expect("Failed to run the application");
}

#[component]
fn HelloWorld(mut hooks: Hooks) -> impl Into<AnyElement<'static>> {
    let mut exit = hooks.use_exit();

    hooks.use_event_handler(EventScope::Current, EventPriority::Normal, move |event| {
        let Event::Key(key) = event else {
            return EventResult::Ignored;
        };
        if key.kind == KeyEventKind::Press
            && matches!(key.code, KeyCode::Char('q') | KeyCode::Char('Q'))
        {
            exit();
            return EventResult::Consumed;
        }

        EventResult::Ignored
    });

    element!(
        Center(
            width: Constraint::Length(42),
            height: Constraint::Length(7),
        ) {
            Border(
                flex_direction: Direction::Vertical,
                justify_content: Flex::Center,
                border_style: Style::new().cyan(),
                top_title: Line::from(" ratatui-kit ").cyan().bold().centered(),
                bottom_title: Line::from(" q quit · Ctrl+C exit ").dark_gray().centered(),
            ) {
                Text(text: Line::from("Hello, World!").green().bold().centered())
            }
        }
    )
}
运行:
cargo run --example hello_world
大多数应用直接用 .fullscreen():
#[tokio::main]
async fn main() {
    element!(HelloWorld)
        .fullscreen()
        .await
        .expect("Failed to run the application");
}
它会创建默认的 CrossTerminal,进入 ratatui 的全屏终端模式,并在渲染循环结束后恢复终端。退出可以来自 Ctrl+C,也可以像上面的例子一样通过 use_exit() 在事件 handler 里请求退出。
如果你需要自定义 ratatui 的 TerminalOptions,用 .render_loop(options):
use ratatui_kit::ratatui::TerminalOptions;

let options = TerminalOptions::default();
element!(HelloWorld).render_loop(options).await?;
除非你在做嵌入式终端、测试后端或特殊 viewport,先保持 .fullscreen()。框架内部的 Terminal 只是 raw event source,键盘和鼠标事件不会广播给所有组件,而是在每帧 render 之后交给输入层系统分发。
你现在只需要记住四件事:
element!(HelloWorld) 创建根声明。#[component] 把函数组件接入运行时。use_event_handler 注册键盘事件,并处理 q 退出。element! 描述本帧 UI;真正的组件实例由运行时跨帧保留。
继续看 心智模型 了解这三个名字如何协作;如果你更想直接写交互,可以跳到第一个会动的 计数器教程。